
Your SINGER 14SH754 Overlocker
Singer's instructions rewritten in plain English, with every setting kept exactly as Singer intended, and with tips from our team added along the way. Stuck on something? Ask the Live Sewing Advisor at any point.
This manual applies to UK spec machines.
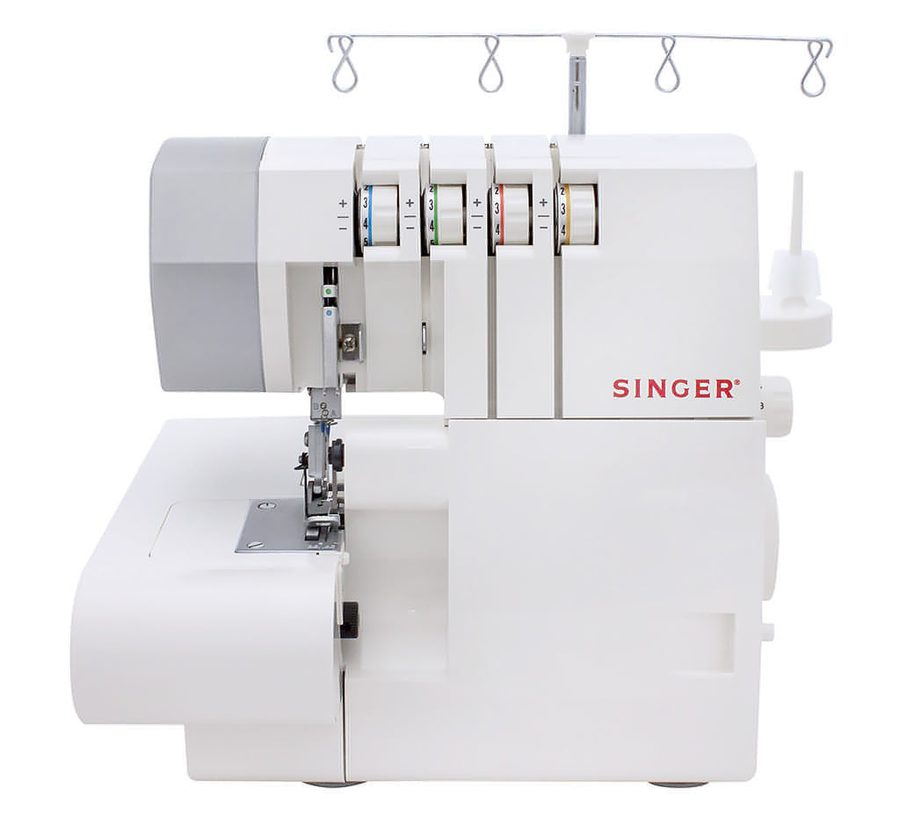
Main things to know
Getting to know your machine
Important safety instructions
When using this machine, basic safety precautions should always be followed, including the ones below. Read all the instructions before using the machine.
DANGER - to reduce the risk of electric shock
- Never leave the machine unattended while it is plugged in. Always unplug it from the socket straight after use and before cleaning.
WARNING - to reduce the risk of burns, fire, electric shock or injury
- Make sure the voltage of the wall socket is the same as the rated voltage of the motor.
- Only use the machine for its intended purpose, as described in this manual. Only use attachments recommended by the manufacturer, as listed in this manual.
- To disconnect, turn all controls to off (O), then take the plug out of the socket.
- Unplug the machine or turn the power switch to O (off) when making any adjustments in the needle area - threading the needles and loopers, changing a needle, changing the throat plate, changing the presser foot and so on.
- Always unplug the machine from the socket when removing covers, oiling, or making any other adjustment mentioned in this manual.
- Do not try to adjust the motor belt. Contact your nearest service centre if it needs adjusting.
- Do not unplug by pulling the cord. Hold the plug, not the cord.
- Handle the foot control with care and don't drop it on the floor. Never put anything on top of it.
- Always use the correct throat plate. The wrong plate can cause the needle to break.
- Do not use bent needles.
- When sewing, keep your fingers away from all moving parts. Take special care around the needles.
- Do not pull or push the fabric while sewing. It can bend the needle and make it break.
- Only use the handle to lift and move the machine.
- Never use the machine if the cord or plug is damaged, if it is not working properly, or if it has been dropped, damaged or dropped into water. Take it to your nearest authorised dealer or service centre to be examined, repaired or adjusted, electrically or mechanically.
- Never use the machine with any of its air openings blocked. Keep the ventilation openings of the machine and the foot control free from lint, dust and loose cloth.
- Never drop or insert any object into any opening.
- Do not use outdoors.
- Do not use where aerosol (spray) products are being used or where oxygen is being given.
- Do not let the machine be used as a toy. Take close care when it is used by or near children.
- Keep the machine and its plastic case out of direct sunlight, and don't keep it anywhere very warm or damp.
- Do not touch the machine, foot control or power cord with wet hands, a wet cloth or anything wet.
- Do not plug the power cord into an adaptor that already has lots of cords plugged into it.
- Use the machine on a flat, stable table.
- Make sure the cylinder cover and looper cover are closed before you use the machine.
- Keep the presser foot and needles out of children's reach.
- Do not take the machine apart or modify it yourself.
- Turn the power switch to O (off) and unplug the machine before doing any of the care described in this manual.
- If the power cord is damaged, it must be replaced by the manufacturer, its service agent or a similarly qualified person, to avoid a hazard.
- Switch off or unplug the machine whenever you leave it unattended.
- If the light is damaged, it must be replaced by an authorised dealer.
- Only use the foot control supplied with the machine, or one supplied by an approved SINGER retailer.
This machine is not intended for use by young children or infirm persons without supervision. Young children should be supervised to make sure they do not play with the machine.
Servicing should be done by an authorised service representative. This machine is not intended for industrial use.
The mains plug (UK)
The wires in the mains lead are coloured: blue - neutral (N), brown - live (L). If you ever fit a plug: the blue wire goes to the terminal marked N or coloured black, and the brown wire to the terminal marked L or coloured red. A 13 amp (BS 1363) plug must have a 3 amp fuse; any other type of plug needs a 5 amp fuse, in the plug, the adaptor or at the distribution board. Neither wire is to be connected to the earth terminal of a three-pin plug. If you are unsure, ask a qualified electrician.
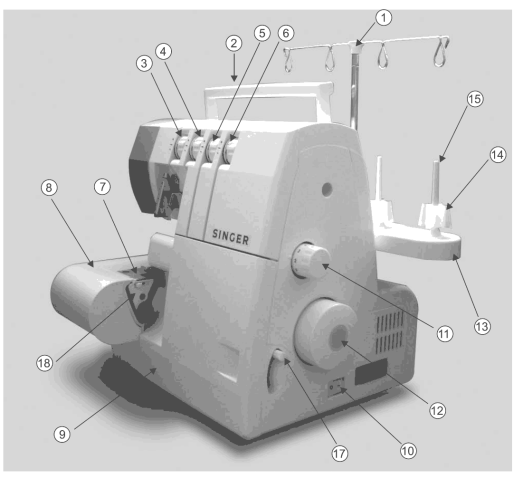
Principal parts
- Thread guides and holder
- Handle
- Left needle thread tension dial (blue)
- Right needle thread tension dial (green)
- Upper looper thread tension dial (orange)
- Lower looper thread tension dial (yellow)
- Throat plate
- Cloth plate
- Looper cover
- Power and light switch
- Stitch length dial
- Handwheel
- Spool stand
- Spool holder
- Spool pin
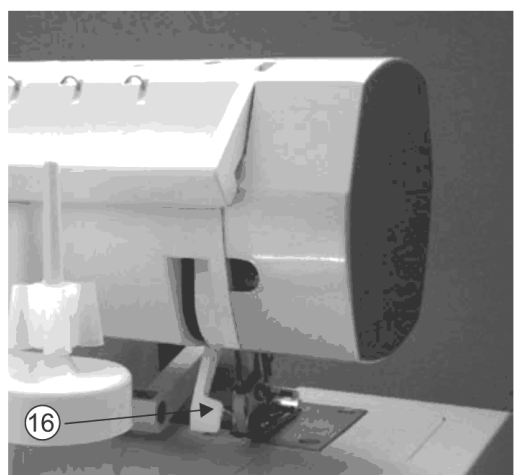
- Presser bar lifter
- Differential feed adjusting lever knob
- Seam width finger support plate
Opening the looper cover and the parts behind it
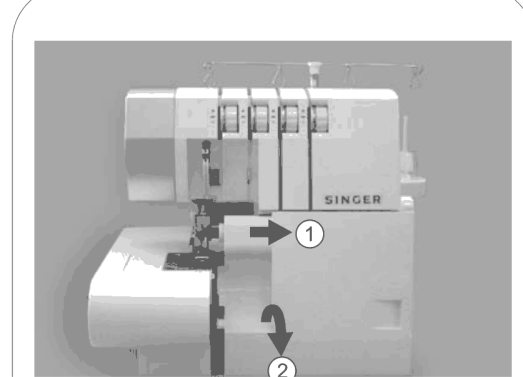
Opening the looper cover
- Push the cover to the right as far as it will go (1).
- Pull the cover down towards you (2).
- Turn the power switch to O (off) before opening the looper cover.
- Make sure the looper cover is closed when sewing.
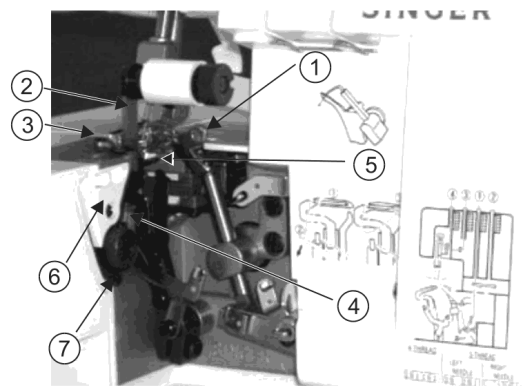
Parts behind the looper cover
- Upper looper
- Movable upper knife
- Presser foot
- Stationary lower knife
- Lower looper
- Seam width finger knob
- Seam width adjustment knob
Accessories and needle information
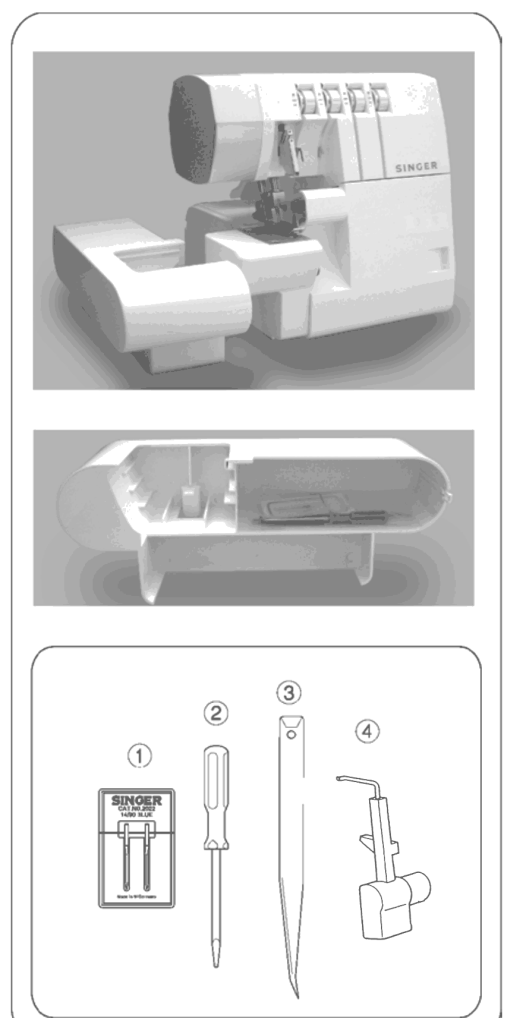
The accessories are kept in the accessory case in the cloth plate.
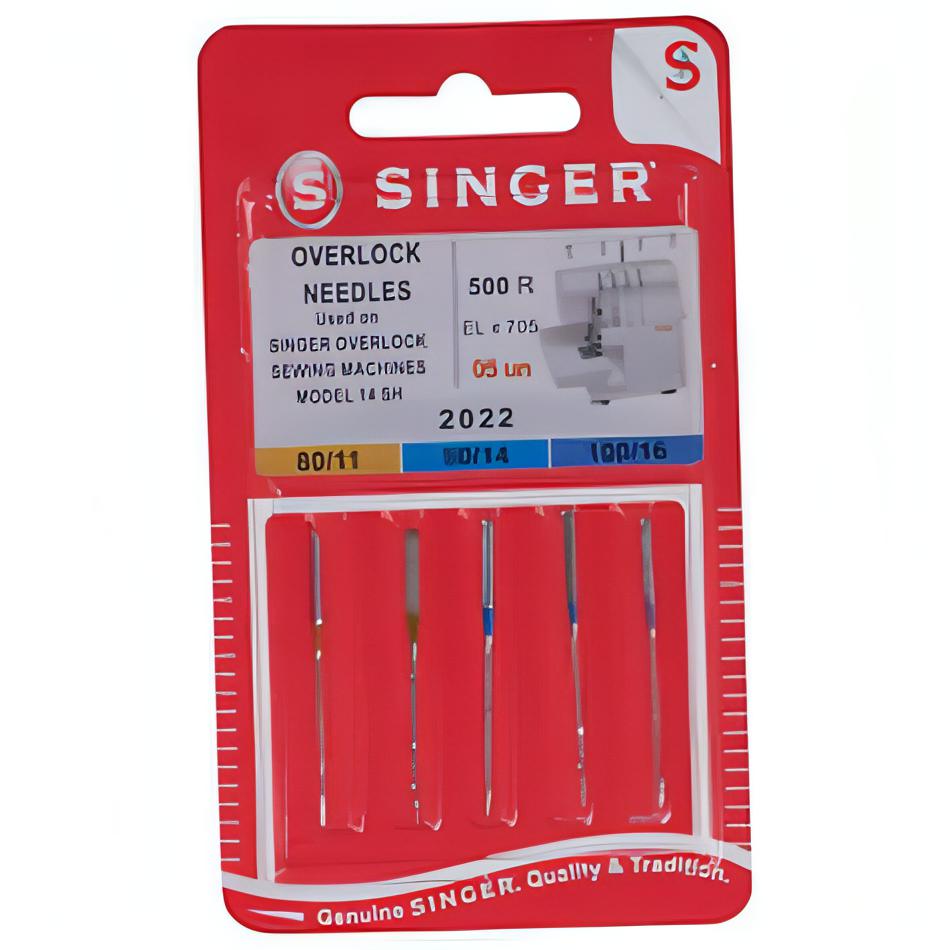
- Needle set
- Screwdriver (small)
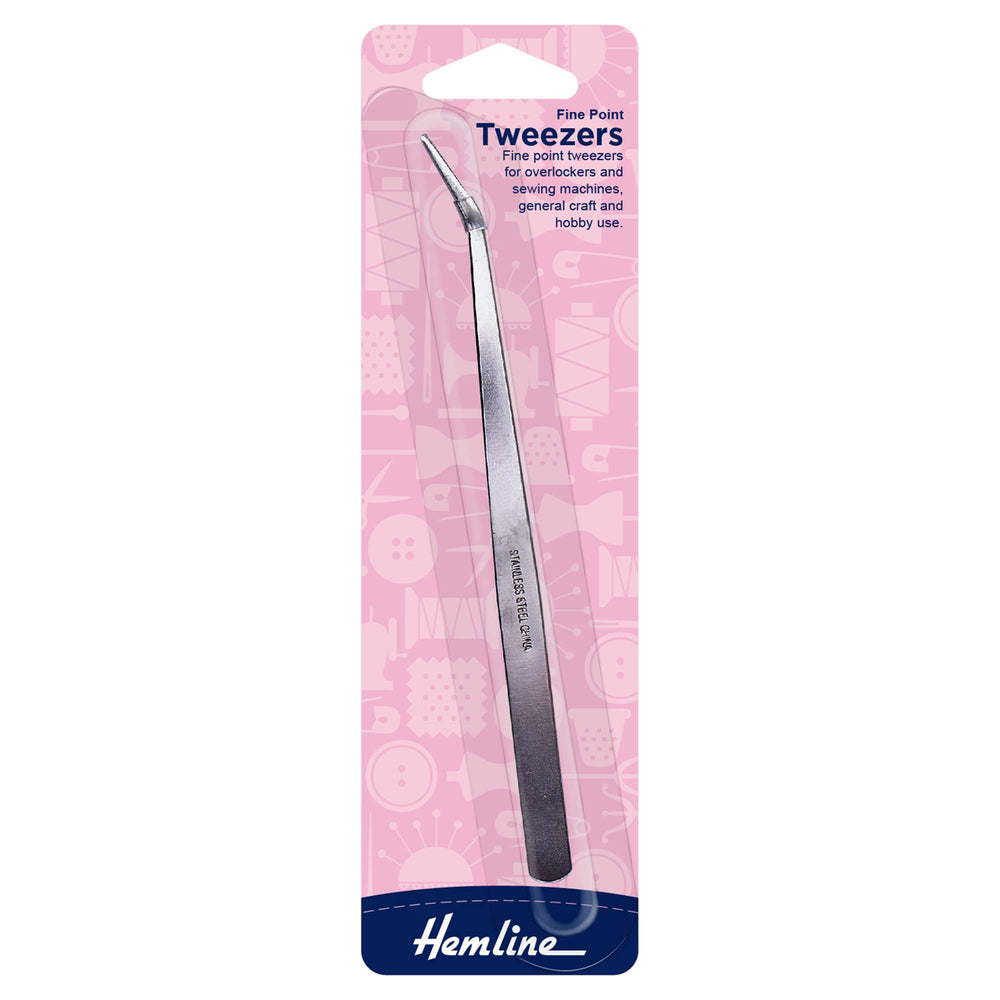
- Tweezers
- Spreader
Needle information
- SINGER 2022 needles, size 90/14, come with the machine.
- In an emergency, standard SINGER 2020 needles can be used. Unless the suggested tension settings are readjusted, though, stitches may skip.
| Needle | Sizes available |
|---|---|
| SINGER 2022 | 80/11, 90/14 |
Choosing your stitch
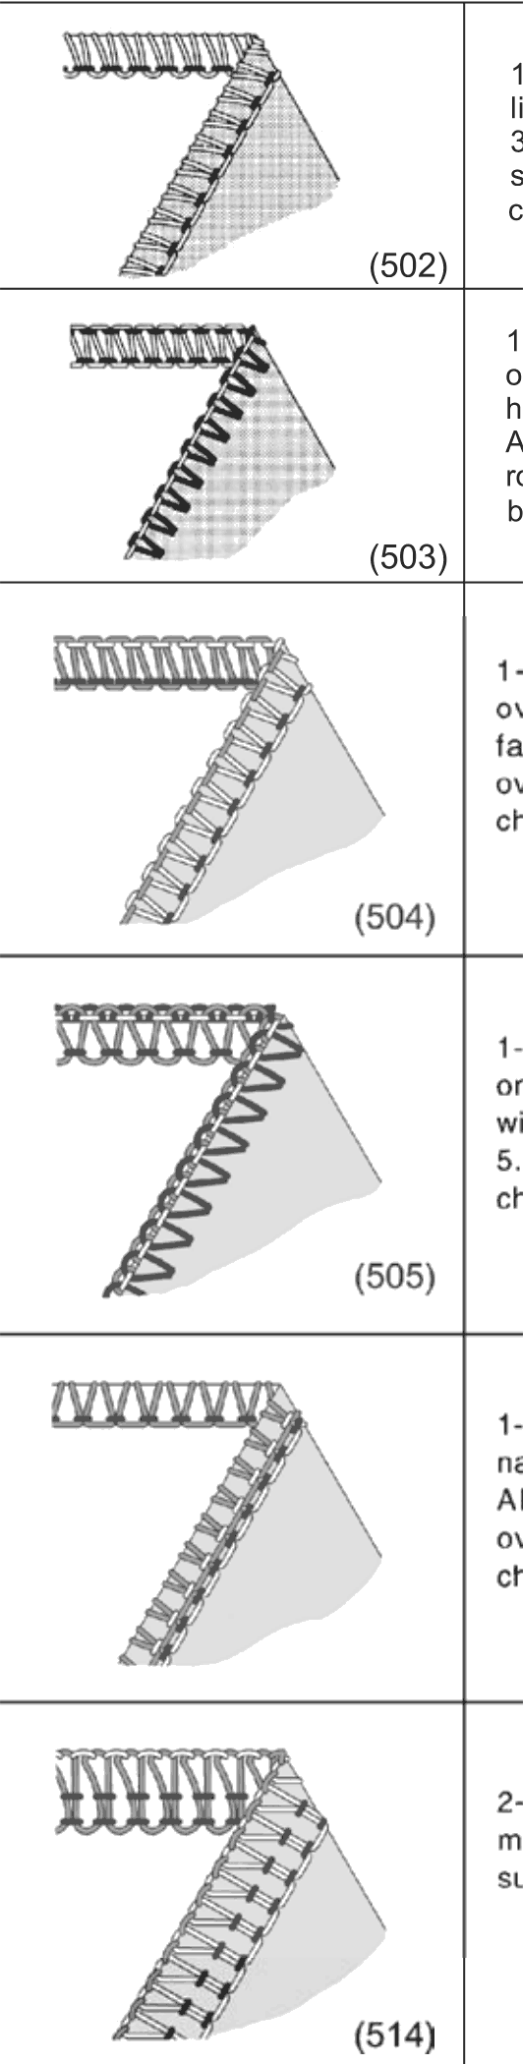
This overlocker sews different types of stitch, depending on which needles you use, how it is threaded and how the tensions are set.
| Stitch | What it is for |
|---|---|
| 1. Two-thread wrapped edge overlock (502) | 1 needle, 2 threads. For lightweight fabrics or knits. Gives a 3.5mm or 5.7mm wrapped overlock, depending on the needle position. |
| 2. Two-thread standard rolled hem (503) | 1 needle, 2 threads. For overedge seaming, and blind stitch hemming on edge finishing. Gives a 3.5mm or 5.7mm width, depending on the needle position. |
| 3. Three-thread overlock (504) | 1 needle, 3 threads. For neatening edges and seaming on everyday fabrics. Gives a 3.5mm or 5.7mm width, depending on the needle position. |
| 4. Three-thread flatlock (505) | 1 needle, 3 threads. For butted or lapped seams, and decorative stitching with decorative thread. Gives a 3.5mm or 5.7mm width, depending on the needle position. |
| 5. Three-thread wrapped edge overlock | 1 needle, 3 threads. For narrow rolled hems or decorative edges. Gives a 3.5mm or 5.7mm width, depending on the needle position. |
| 6. Four-thread stretch mock safety stitch (514) | 2 needles, 4 threads. Ideal for medium to heavy stretchy fabrics such as double knits and swimwear. |
Overedge width and needles
- 3.5mm overedge: use the right needle - green tension dial.
- 5.7mm overedge: use the left needle - blue tension dial.
- For overedging heavyweight fabrics, you can make the seam wider still with the overedge seam width adjustment knob (see Stitch length and seam width).
The rest of this manual is for our customers
36 more sections, including step-by-step guides, stitch settings and troubleshooting.
The full manual and our Live Sewing Advisor come free with every machine we sell.
Order a Singer 14SH754 OverlockerAlready a customer? Log inBought your machine somewhere else? Get the full manual, plus our Live Sewing Advisor for any sewing question, for 30 days.
Get 30 days' access - £10 one-offA one-off payment of £10 for 30 days - no subscription. Instant access by email, including every interactive sewing machine manual we have.