
Your SINGER Starlet 6699
Singer’s instructions rewritten in plain English, with every setting kept exactly as Singer intended, and with tips from our team added along the way. Stuck on something? Ask the Live Sewing Advisor at any point.
This manual applies to UK spec machines.
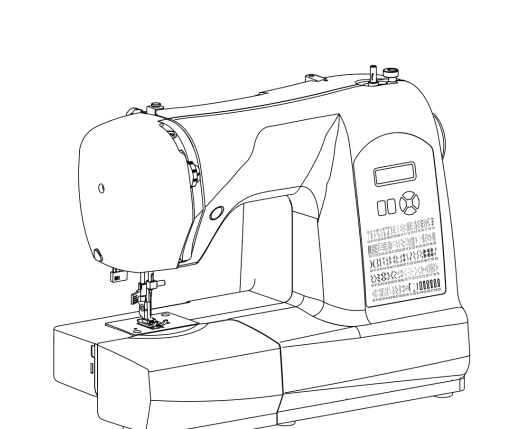
Main things to know
Getting to know your machine
Important safety instructions
Read all the instructions before using this sewing machine. When using an electrical appliance, basic safety precautions should always be followed, including the ones below.
DANGER - to reduce the risk of electric shock
- Never leave the machine unattended while it is plugged in. Always unplug it from the socket straight after use and before cleaning.
WARNING - to reduce the risk of burns, fire, electric shock or injury to people
- Do not let the machine be used as a toy. Take close care when it is used by or near children.
- This machine is not intended for use by people (including children) with reduced physical, sensory or mental capabilities, or lack of experience and knowledge, unless they have been given supervision or instruction on using it by a person responsible for their safety. Children should be supervised to make sure they do not play with the machine.
- Only use the machine for its intended purpose, as described in this manual. Only use attachments recommended by the manufacturer, as listed in this manual.
- Never use the machine if the cord or plug is damaged, if it is not working properly, or if it has been dropped, damaged or dropped into water. Take it to your nearest authorised dealer or service centre to be examined, repaired or adjusted, electrically or mechanically.
- If the supply cord is damaged, it must be replaced by the manufacturer, its service agent or a similarly qualified person, to avoid a hazard.
- Never use the machine with any of its air openings blocked. Keep the ventilation openings of the machine and the foot control free from lint, dust and loose cloth.
- Never drop or insert any object into any opening.
- Indoor use only.
- Do not use where aerosol (spray) products are being used or where oxygen is being given.
- To disconnect, turn the power switch to O (off), then take the plug out of the socket.
- Switch off or unplug the machine when you leave it unattended, and unplug it before carrying out maintenance.
- Do not unplug by pulling the cord. Hold the plug, not the cord.
- Keep your fingers away from all moving parts. Take special care around the needle.
- Never sew with a damaged needle plate - it can make the needle break.
- Do not use bent needles.
- Do not pull or push the fabric while sewing. It can bend the needle and make it break.
- Turn the power switch to O (off) when making any adjustments in the needle area - threading the needle, changing the needle, threading the bobbin, changing the presser foot and so on.
- Always unplug the machine from the socket when removing covers, oiling, or making any other user servicing adjustment mentioned in this manual.
- To avoid electric shock, never put the machine, the mains cable or the mains plug into water or any other liquid.
- The LED light has a maximum power of 0.3W and a maximum voltage of DC 5V. If the LED light is damaged, do not use the machine - send it to the manufacturer or service agent to be repaired or replaced straight away.
- To avoid injury, unplug the foot control when you leave the machine unattended, and before carrying out any maintenance.
- Only use the foot control supplied with the machine, or one supplied by an approved SINGER retailer.
CAUTION - moving parts
To reduce the risk of injury, switch off before servicing. Close the cover before using the machine.
Please note that at the end of its life this product must be recycled safely, in line with the national rules for electrical and electronic products. If in doubt, contact your retailer for guidance.
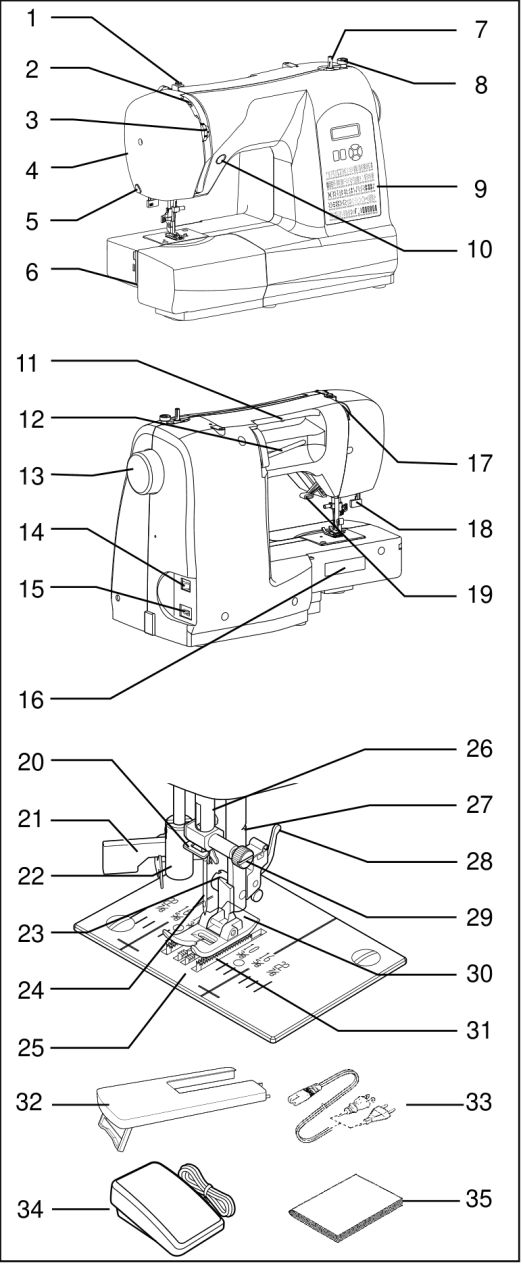
Parts of the machine
- Bobbin winding tension disc
- Thread take-up lever
- Thread tension control (dial)
- Face cover
- Thread cutter
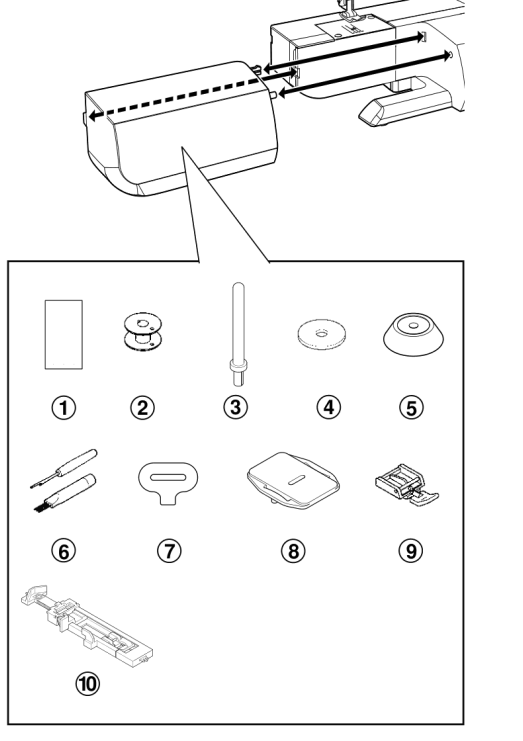
- Removable extension table / accessory box
- Bobbin winder shaft
- Bobbin winder stop
- Pattern number reference guide - the chart of stitch numbers
- Reverse stitch button
- Handle
- Horizontal spool pin
- Handwheel
- Power/light switch
- Cord socket
- Identification plate
- Thread guide
- Buttonhole lever
- Presser foot lifter
- Thread guide
- Automatic needle threader
- Thread guide
- Presser foot screw
- Needle
- Needle plate
- Needle bar
- Thread cutter
- Foot release lever
- Needle clamp screw
- Presser foot
- Feed dogs (feed teeth)
- Large extension table (optional - not supplied)
- Power cord
- Foot control
- Instruction manual
Accessories
The foot fitted to your machine when it arrives is the general purpose foot. You will use it for most of your sewing.
Supplied with the machine
- Needles
- Bobbins (Class 15)
- Auxiliary spool pin
- Spool pin felt discs
- Spool pin cap
- Buttonhole opener / seam ripper and brush
- Screwdriver for the needle plate
- Darning plate
- Zipper foot
- Buttonhole foot
Extra feet supplied with the Starlet 6699
- Roller foot - for leather, suede, plastic and velvet.
- Invisible zipper foot - for concealed (invisible) zips.
- Button sewing foot - holds the button firmly while you sew it on.
- Blind stitch foot - for nearly invisible hems.
- Overcasting foot - for a neat overlocked-style edge.
There is a section on each of these feet further down this page (see Extra feet).
Optional extras (not supplied)
More accessories are available for your machine, for example:
- Large extension table - Singer lists it as an option for this machine
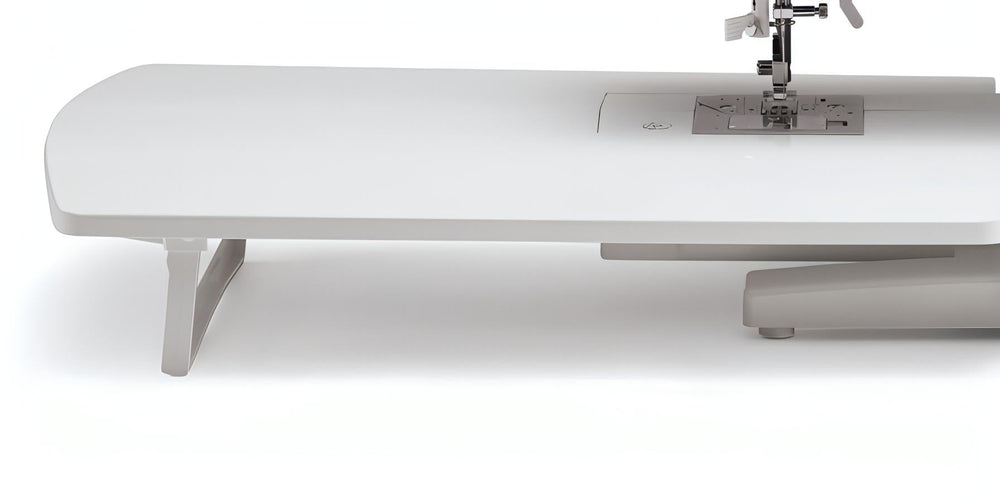 Large Extension Table£59.99
- Satin stitch foot - Singer says it must be used for dense satin stitch
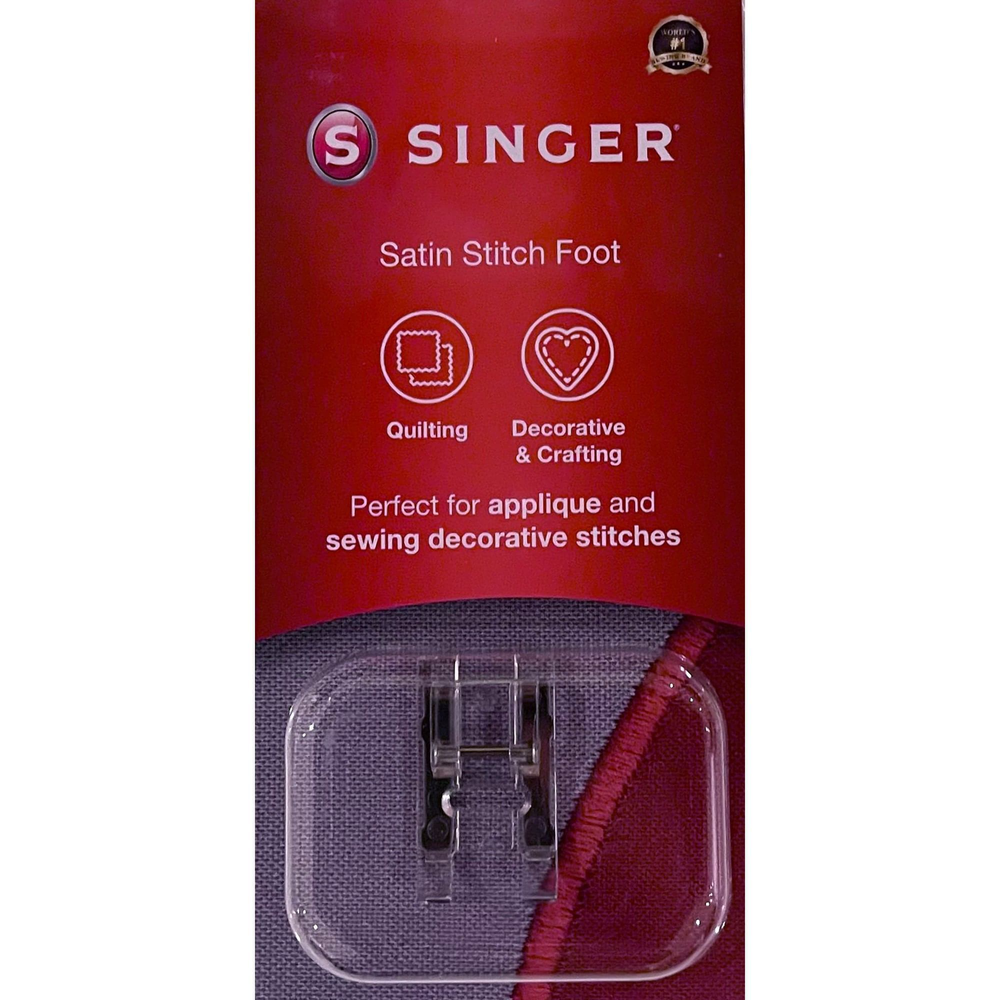 Satin Stitch Foot£14.99
- Walking foot
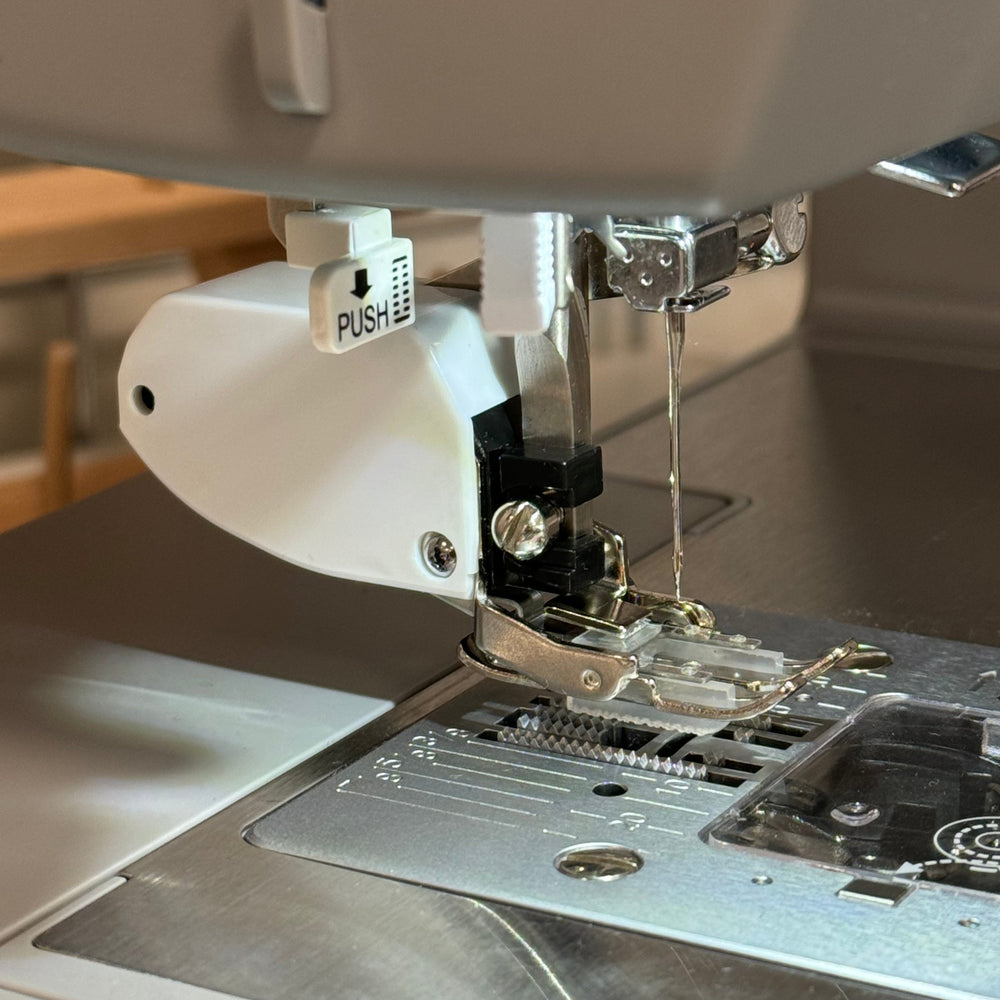 Walking Foot£29.99
- 1/4" quilting foot
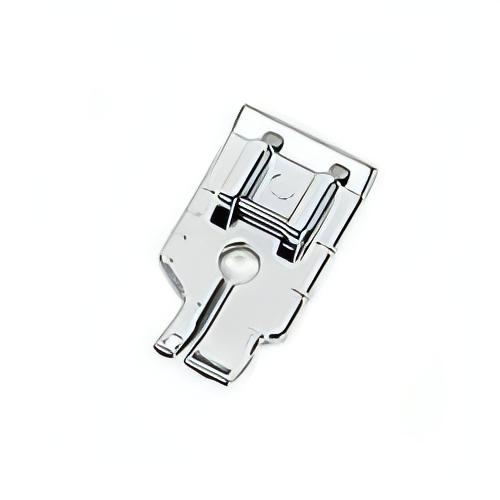 1/4" Quilting Foot£11.99
Setting up and connecting to the power
- Always disconnect the machine from the power by taking the plug out of the wall socket when you are not using it.
Before you use your machine for the first time, wipe off any spare oil from round the needle plate.
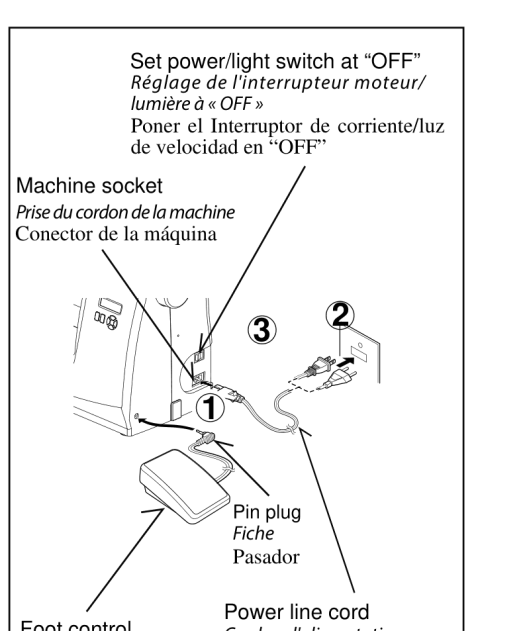
Power cord and foot control
- Plug the power cord into the cord socket on the machine (1), then into the wall socket (2).
- Plug the foot control plug (3) into the machine socket.
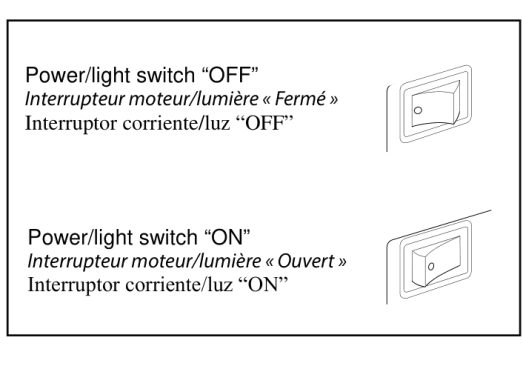
Power/light switch
Your machine will not run until the power/light switch is turned on. The same switch controls both the power and the light. When servicing the machine, changing needles and so on, the machine must be disconnected from the power.
- Only use the foot control supplied with the machine, or one supplied by an approved SINGER retailer.
- If you are unsure how to connect the machine to the power, ask a qualified electrician.
Presser foot lifter, darning plate and free arm
Presser foot lifter
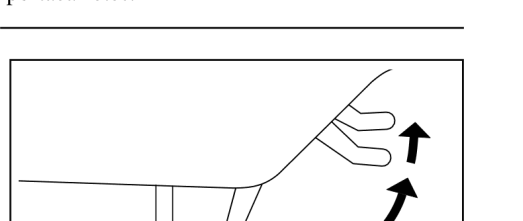
There are three positions for your presser foot:
- Lower the presser foot to sew.
- Raise the lifter to the middle position to put in or take out fabric, and to change the presser foot.
- Lift it to its highest position to fit thicker fabrics under the foot.
Darning plate
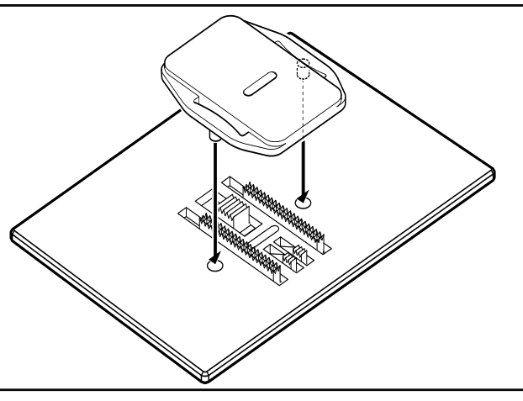
Use the darning plate when you need to control the fabric feed yourself - for sewing on buttons, free motion work and free motion darning. Raise the needle and presser foot, and put the darning plate on the needle plate with the two pins on its back pushed into the holes in the needle plate.
Converting to free arm sewing
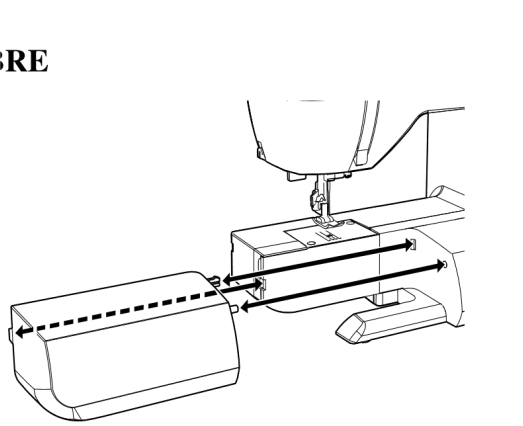
Your machine can be used either as a flat bed or as a free arm model. With the extension table in place it gives you a large working surface. To take the extension table off, hold it firmly with both hands and pull it off to the left. To put it back, slide it back into place until it clicks.
With the extension table off, the machine becomes a free arm model for sewing children's clothes, cuffs, trouser legs and other hard-to-reach places.
Threading
The rest of this manual is for our customers
31 more sections, including step-by-step guides, stitch settings and troubleshooting.
The full manual and our Live Sewing Advisor come free with every machine we sell.
Order a Singer Starlet 6699Already a customer? Log inBought your machine somewhere else? Get the full manual, plus our Live Sewing Advisor for any sewing question, for 30 days.
Get 30 days' access - £10 one-offA one-off payment of £10 for 30 days - no subscription. Instant access by email, including every interactive sewing machine manual we have.